
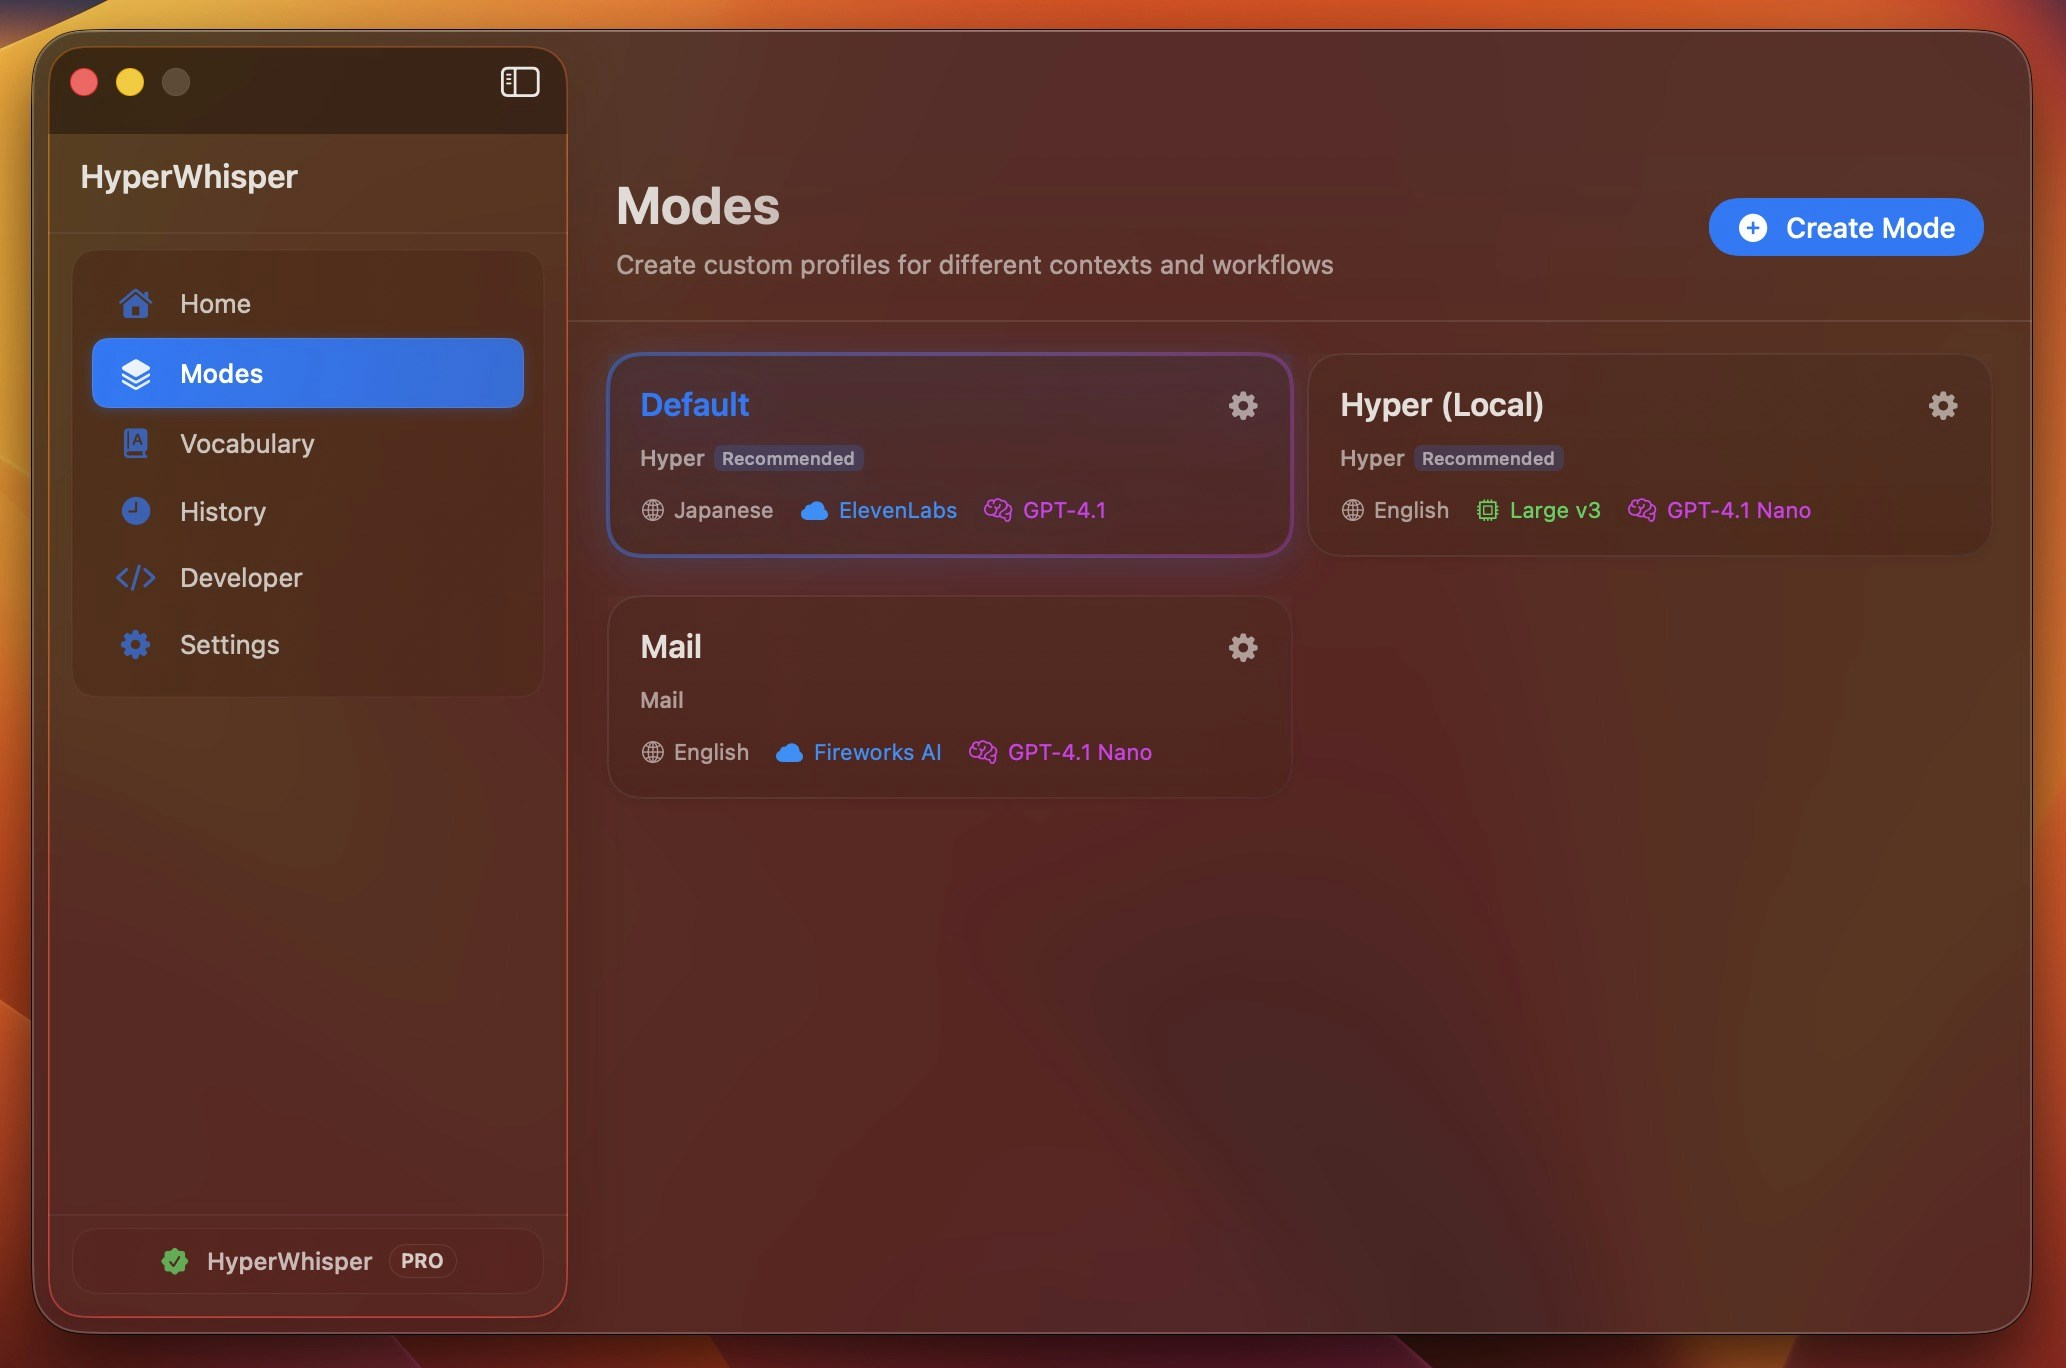
Switching Modes
Press the Change Mode shortcut from any app to go through your modes. After each change, a notification shows the name of the active mode.- macOS
- Windows
Default shortcut:
⌃⇧K (Control+Shift+K). To change it, go to Settings → Keyboard Shortcuts.One mode is your default mode, and its name is fixed. When you edit it,
the Name field is not editable, and the editor says why. Every other mode
can be renamed. On a new install, the default mode is called Hyper on
macOS, Windows, and Linux. The mode’s default status fixes the name. A default
restored from a backup under another name is still the one you cannot rename.Exactly one mode is the default, always. Delete the default mode and the next mode in the list takes its place. Restore a backup that carries two default modes, or none, and the app repairs it when it starts.
Built-in Presets
When you create a mode, you select a preset. The preset sets the AI post-processing instructions for that mode. Both platforms give seven presets:The setting AI Post-Processing → Off replaces the old “Voice to Text” preset. On macOS, HyperWhisper moves each mode that used that preset to Hyper, and sets post-processing to off. On Windows, the migration only changes the preset name to Hyper. If the mode had post-processing on, the mode keeps post-processing on. If you used the old raw-transcript behavior, you must set AI Post-Processing to Off again after the update.
Transcription Source
Each mode has a transcription source: On Device, HyperWhisper Cloud, or Your Provider (bring your own API key).On Device (local)
For fully offline transcription, download a Whisper, Parakeet, Nemotron, or Qwen3 ASR model. On macOS 26 and later, you can also use the Apple Speech Analyzer models. A large model is more accurate, but it uses more disk space. Whisper models with an.en suffix support English only. Parakeet v2 also supports English only, and Parakeet v3 supports many languages.
You find and download models in Model Library. For the full list of on-device models and the platforms that support them, see Models.
HyperWhisper Cloud — Provider and Model
With HyperWhisper Cloud, you select the speech-to-text provider that processes your audio. You select the provider for each mode. Thus you can use a fast provider for messages, and a more accurate provider for meeting notes. Two rows control this. The Provider row names the company. The Model row names the model. The Model row is always a dropdown, also for a company that gives only one model. The Provider row shows 11 companies, in alphabetical order:
The Provider row shows (Recommended) on the ElevenLabs row only. ElevenLabs Scribe v2 is the recommended engine. The Model row shows no (Recommended) tag.
Google is one row, but two engines are behind it: Gemini 3.5 Transcribe and Gemini. The Model row lists the models of both engines together. The model that you select sets the engine that HyperWhisper Cloud uses, and thus also the credit rate. The two MAI-Transcribe models are available through HyperWhisper Cloud only. You cannot use them with your own key. MAI-Transcribe 2 is the model that the Microsoft row selects first, and it shows the Preview badge.
The Model row does not show Gemini 3.5 Transcribe Live or GPT Live Transcribe. HyperWhisper Cloud serves these two models on a WebSocket only, and the batch transcription endpoint refuses them. HyperWhisper Cloud uses Gemini 3.5 Transcribe Live for streaming transcription. You cannot select GPT Live Transcribe anywhere in the app.
Meta’s Muse model supports real-time streaming upstream. HyperWhisper currently supports only its pre-recorded push-to-talk path. Muse therefore appears in a mode’s Model row, but it does not appear in the HyperWhisper Live engine picker. The Cloud route costs 3 credits per audio minute. A direct Meta mode uses your own key and no HyperWhisper credits.
The SpaceXAI row gives two models. Grok Voice Transcribe 2 is the model that the row selects first. Grok Voice Transcribe 1 is the older model, at the same rate. A mode that you saved before this change stored no model id. HyperWhisper sends Grok Voice Transcribe 2 for that mode. Select Grok Voice Transcribe 1 in the Model row if you want the older model.
AssemblyAI → Dictation is a different model from Universal-3.5 Pro and Universal-2. It needs an explicit language, it does not accept Medical Mode, and it takes recordings up to 120 seconds. Read AssemblyAI Dictation.
Your Provider (BYOK)
Select a cloud provider. Then enter your own API key in Model Library → API Keys. The model list changes with the provider that you select. Here also, the Model row is always a dropdown. A provider with one model shows that one model in the dropdown.Language
You set the transcription language for each mode. Keep the value Auto if you want the engine to detect the language. Some local models and some cloud engines support English only. The app marks each combination that does not work. Tip: If you dictate in more than one language, create a mode for each language. This is more reliable than auto-detection for each recording.AI Post-Processing
After transcription, HyperWhisper can send the raw text to an LLM. The LLM corrects the text, changes the format, and obeys the instructions of the preset. There are three options:- Off — The raw transcription output, with no AI pass. This option is the fastest, and it does not change the format.
- Cloud — The AI pass runs on HyperWhisper Cloud, or with your own API key (OpenAI, Anthropic, Gemini, Groq, Grok, Cerebras, Mistral).
- Local — A model on your device processes the text. An internet connection is not necessary.
Raw Transcription (Post-Processing Off)
Set AI Post-Processing to Off to get the raw transcript from the STT engine. HyperWhisper makes no other changes. This is the fastest path. Use it when you want the exact words, or when you paste the text into a tool that applies its own format.Cloud Post-Processing Engine & Model
If post-processing is Cloud and you use HyperWhisper Cloud, you can select the LLM engine and the model for this pass. This engine is not the transcription engine. You select the engine and the model for each mode. You can select Cerebras, Groq, Anthropic (Claude), Grok (SpaceXAI), OpenAI, Google Gemini, or Mistral. Each engine gives one or more models in a second picker. On both macOS and Windows, you can also send post-processing to a self-hosted or OpenAI-compatible custom endpoint instead of a built-in engine. See Custom Endpoints.Additional Formatting Options
These options apply in addition to the preset instructions:- Punctuation — Adds commas, periods, and other basic punctuation.
- Capitalization — Applies sentence case automatically.
- Profanity filter — Removes profanity from the transcript. The AI does not mask the words with symbols. If a sentence no longer makes sense without the word, the AI rewords that part slightly.
- Remove Trailing Period — Deletes the period at the end of a transcription. Use this option for short phrases that you paste into search fields, chat inputs, or command lines, where a final period looks wrong.
English Spelling Variants
If your language is English and post-processing is on, you can select a spelling variant. The AI then uses the same spelling rules for all text:- American — for example, color, realize, organization, center, traveled
- British — for example, colour, realise, organisation, centre, travelled
- Australian — for example, colour, realise, organisation, centre, travelled
- Canadian — for example, colour, realize, organization, centre, travelled. Canadian English keeps the British -our and -re endings, but it uses the American -ize and -ization endings.
HyperWhisper stores the variant for each mode. Thus a mode for UK client emails can use British, and your daily dictation mode can stay on American.
Streaming Transcription
Streaming transcription shows the words while you speak. It does not wait until you stop the recording. It uses its own shortcut, not the standard toggle.- macOS
- Windows
Default shortcut:
⌥⇧Space (Option+Shift+Space). To change it, go to Settings → Keyboard Shortcuts.To turn streaming on or off, and to set its language, go to Settings → Streaming.Screen OCR
If Screen OCR is on for a mode, HyperWhisper reads the visible text on your screen when the recording starts. It sends this text to the AI as context. The AI then spells proper nouns, identifiers, and technical terms correctly. This function helps most when you dictate about the content on your screen. To use this function, edit a mode and turn on Screen OCR. At the first use, the app asks for the Screen Recording permission. To give this permission, see Permissions. Screen OCR is a setting for each mode. Turn it on only for the modes where the screen gives useful context (for example, a Code mode or a Meeting mode). Keep it off for casual dictation.User-Supplied System Prompt
Every mode has an optional System Prompt field (up to 8,000 characters). HyperWhisper puts this text into the post-processing instructions, before the preset template. Use the field to add context that the preset does not cover. This context can include your industry, your preferred terminology, and your permanent rules for the output. Examples:- “Use metric units. Spell out numbers below 10.”
- “This is for internal tech docs. Prefer ‘we’ over ‘I’.”
- “Always capitalize ‘HyperWhisper’.”
Gemini Custom Prompt
If the transcription source is Your Provider and the provider is Gemini, the mode gets a Gemini Custom Prompt field (up to 2,000 characters). This field sends your instructions directly to the transcription step of Gemini, before post-processing starts. The prompt controls how Gemini reads the audio. It does not control the format of the output. This field needs your own Gemini API key. The field does not appear for the Gemini models in the HyperWhisper Cloud Model row. This field is not the User-Supplied System Prompt. The system prompt applies to post-processing.Cloud Transcription Domain
For HyperWhisper Cloud transcription, you can set a Transcription Domain on a mode. The audio then goes to a model for that domain. At this time, the only supported value ismedical. This value selects a backend for clinical vocabulary and note formats.
The Medical control appears only when the provider is AssemblyAI. AssemblyAI is the only provider that uses a domain for this. For Deepgram, medical is a model: select Nova 3 Medical or Nova 2 Medical in the Model row instead.
You set this value for each mode, and HyperWhisper sends it to the cloud backend as a hint. For general-purpose transcription, keep the field empty.
Creating and Editing Modes
1
Open the Mode Editor
To create a mode, click the + button in the mode list. To edit a mode, click that mode in the list.
2
Choose a preset
Select the preset for your use case. The preset sets the AI post-processing instructions. For full control, select Custom and write your own instructions.
3
Set your transcription source, engine, and language
Select On Device, HyperWhisper Cloud, or Your Provider. For HyperWhisper Cloud, also select an STT engine. Set the language, or keep Auto.On macOS, a new mode starts on HyperWhisper Cloud. If you have no active HyperWhisper Cloud account key and a local model is in the On Device list, a new mode starts on On Device instead, with post-processing set to Off. The mode then uses the first model in the On Device list, and it skips Apple Speech when you downloaded a different model. On macOS 26, Apple Speech is in the list when the system supports it. In that case, a new mode without an account key always starts on On Device.
4
Configure post-processing
Select Off, Cloud, or Local. For Cloud, you can also select a post-processing engine and model. To give more instructions, add a system prompt.
5
Adjust formatting options
Set punctuation, capitalization, profanity filter, remove trailing period, and the English spelling variant.
6
Enable optional features
If you want the AI to use your screen as context, turn on Screen OCR. If you use the Gemini STT engine, set a Gemini custom prompt.
Tips
- One mode per context — Create a mode for each workflow (client emails, meeting notes, code, casual messages). This is better than a change of the settings in one mode. The Change Mode shortcut makes each change fast.
- Per-language modes — If you dictate in more than one language, a mode for each language is more reliable than auto-detection.
- Start with Hyper — The Hyper preset is sufficient for most general dictation. If you see the same gap many times, add a system prompt or select a different preset.
- Raw output for other tools — If another tool applies its own format (IDE, terminal, form field with validation), set post-processing to Off.